How to change colors in your questionnaire
Colors play an important role in establishing a cohesive brand image and generating brand recognition. When designing a questionnaire with Bask, our visual customizer tool allows you to modify the colors of every aspect of your questionnaire. This is easy to do with our color picker tools, allowing you to input the value of your color or customize your own with our colors wheels. In this guide we will go step-by-step to walk you through how to access the visual customizer, how to change the colors within your questionnaire, and which colors correspond to what.
Step 1
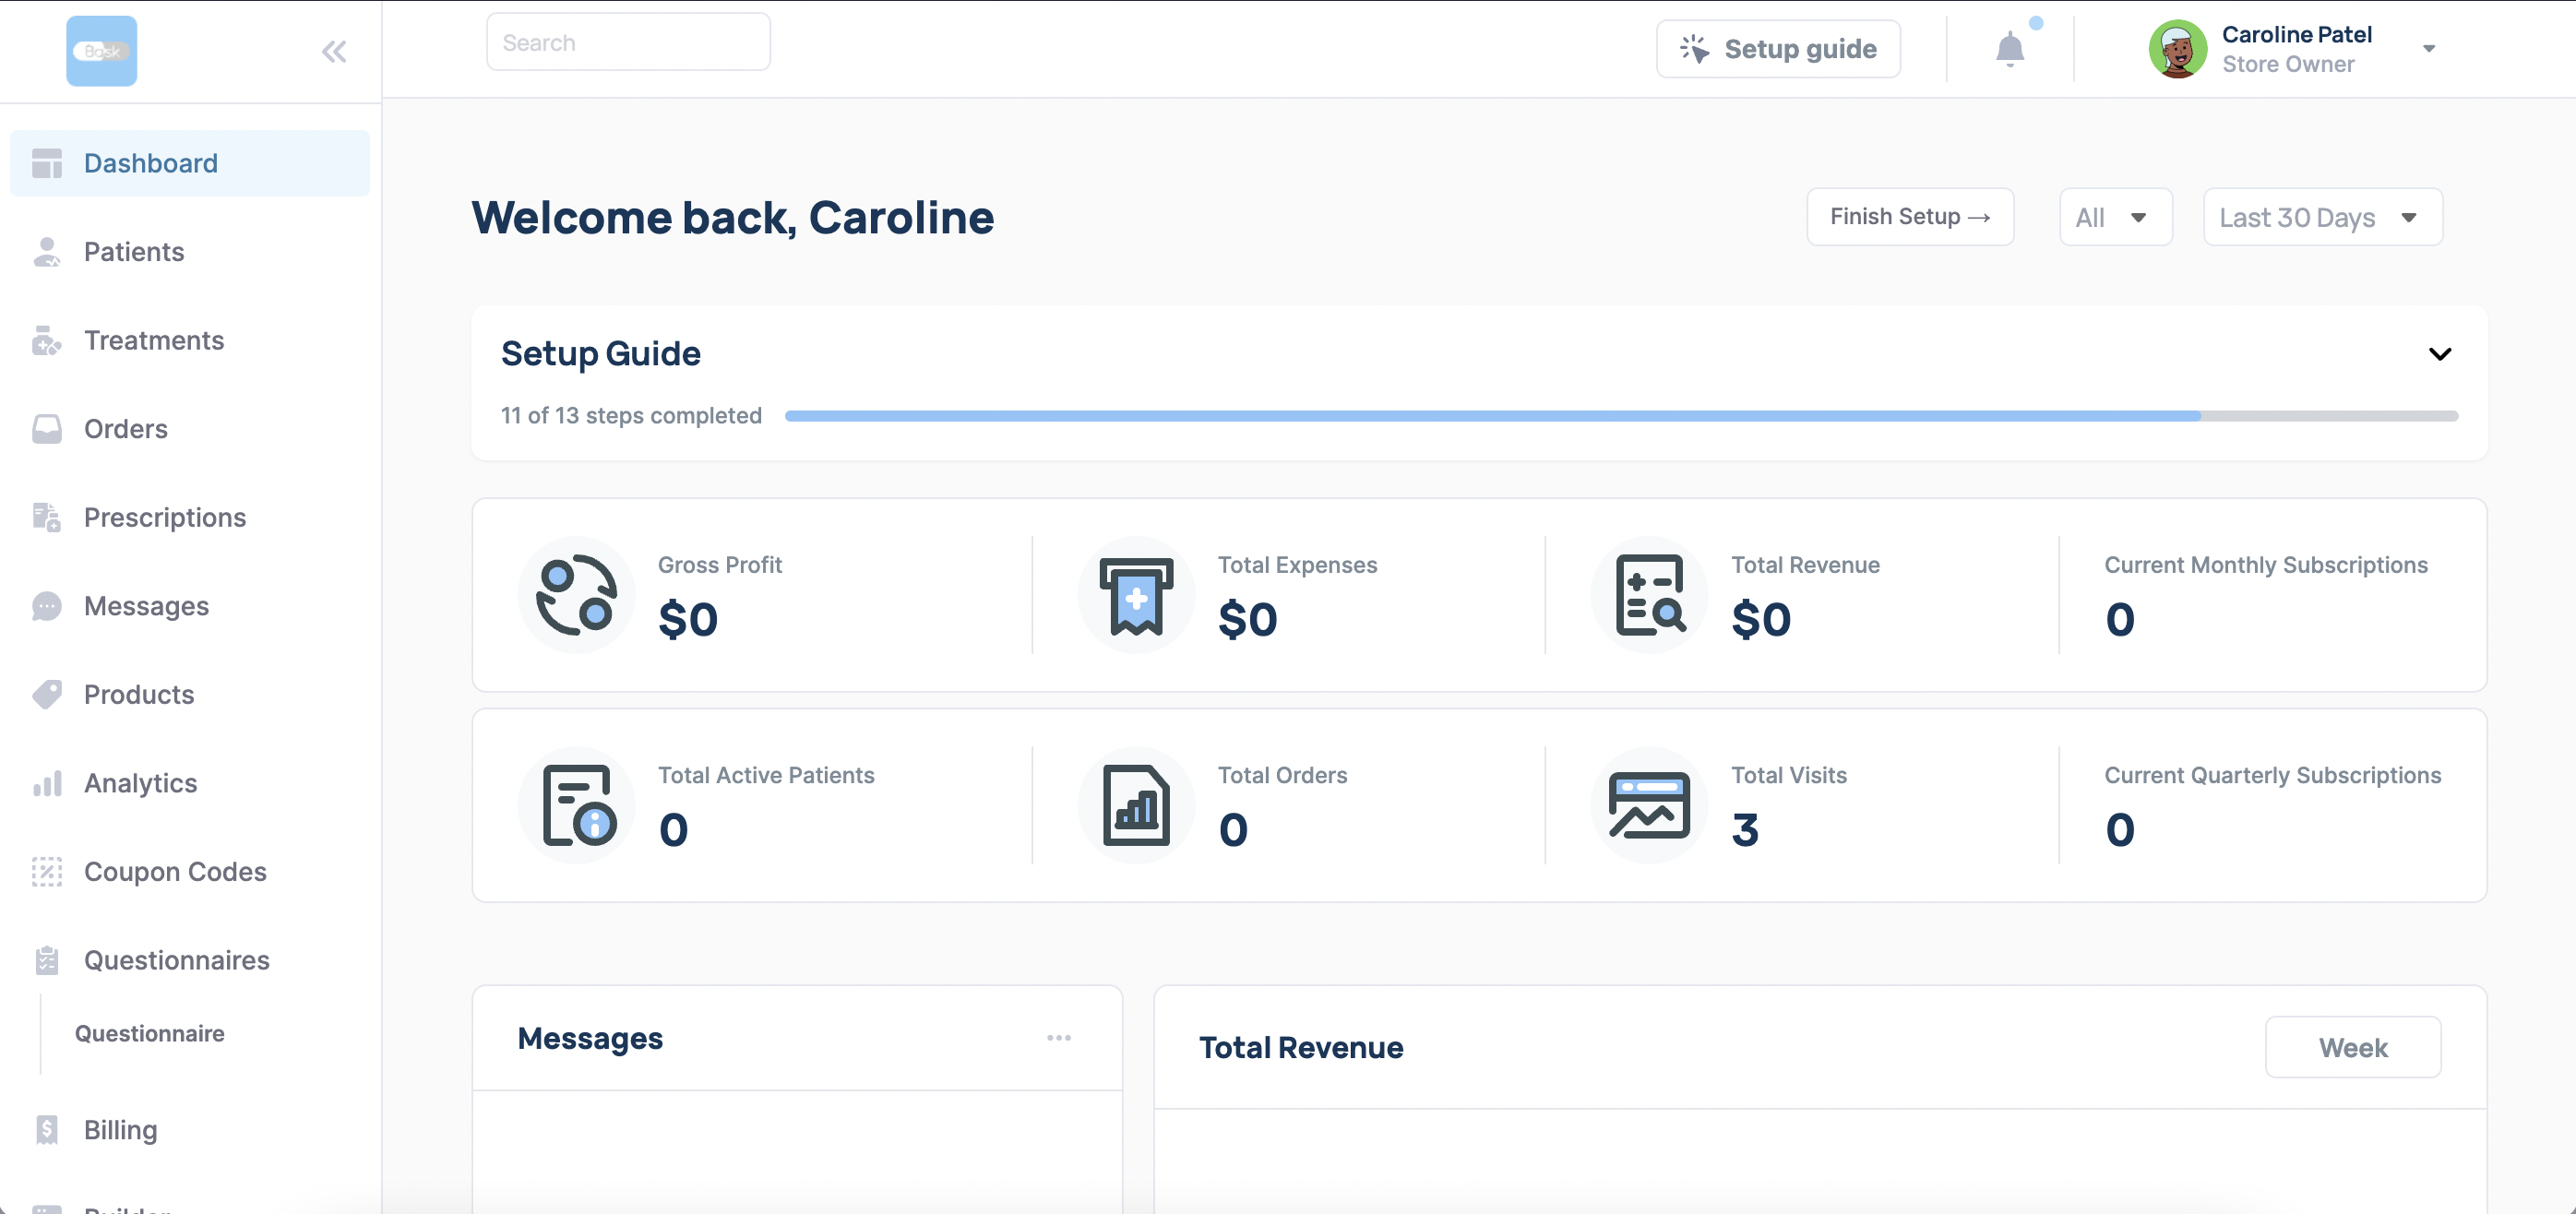
To edit the colors of your questionnaire, begin in the main dashboard. Select the "Questionnaires" tab from the side bar and select the "Questionnaire" page from the drop down menu.

Step 2
This opens up your "Questionnaires" page, which displays a list of all the questionnaires you have added or created within your account. Click on the name of the questionnaire in which you would like to edit the colors of.

Step 3
This brings you to the page where you can see all of the questions within your questionnaire. Select any question by checking the corresponding checkbox. A pop-up will open on the bottom of your screen with "Customize," "View," and "Delete" tabs. To access the Visual Customizer click the "Customize" button.

Step 4
This brings you to the visual customizer. Here, you change the look of your questionnaire by directly editing various elements. To customize your colors you will want to click on the "Global Settings" button located on the bottom of the left sidebar.

Step 5
This brings you to your "Global Settings" page, where you can choose which aspects of your questionnaire you would like to adjust. Select "Colors" from the menu to customize the look of your questionnaire.

Step 6
You have now reached the "Colors" page. This is where you can adjust the color of every aspect of your questionnaire to your liking and maintain a more consistent brand image.

Step 6
To change a color, click the box corresponding to the color you would like to change. This will open up your color picking tools. Either enter the Hex value of the color you would like or play around with the color pickers to create a customized color.

Step 7
Edit the colors in your header using the color boxes under the "Header" section in the sidebar.
Header Color:

Step 8
Header Text Color:

Step 9
Back Button Color:

Step 10
Progress Bar Color:

Step 11
Help Button Color:

Step 12
Help Text Button Color:

Step 13
Edit the colors in your questionnaire using the color boxes under the "Questionnaire" section in the sidebar.
Question Background Color:

Step 14
Secondary Question Background Color:

Step 15
Primary Text Color:

Step 16
Secondary Text Color:

Step 17
Answer Background Color:

Step 18
Answer Text Color:

Step 19
Answer Highlight Color:

Step 20
Answer Outline Color:

Step 21
Primary Button Color:

Step 22
Primary Button Text Color:
Step 23
Primary Button Text Color:

Step 24
Secondary Button Color:

Step 25
Secondary Button Text Color:

Step 26
Pre-Header Text Color:


Step 27
Sub-Header Text Color:

Step 28
Divider Line Color:

Step 29
Edit the colors in your footer using the color boxes under the "Footer" section in the sidebar.
Background Color:

Step 30
Primary Text Color:

Step 31
Divider Color:

Step 31
When your questionnaire colors are customized to your liking, remember to click "Save" to upload your changes. Once you exit the page, your updated questionnaire should be saved to the main questionnaire page.